
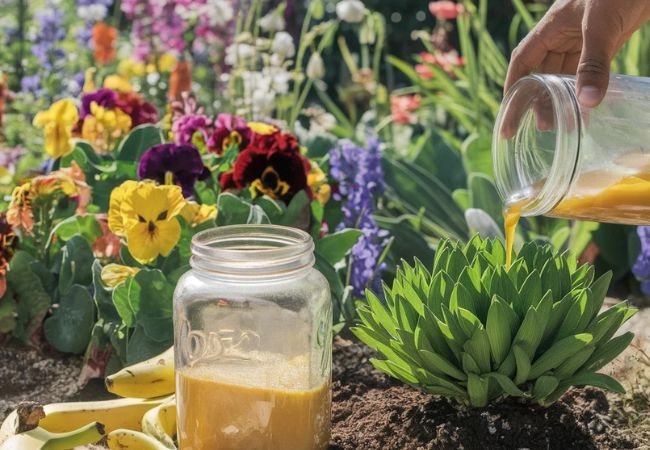
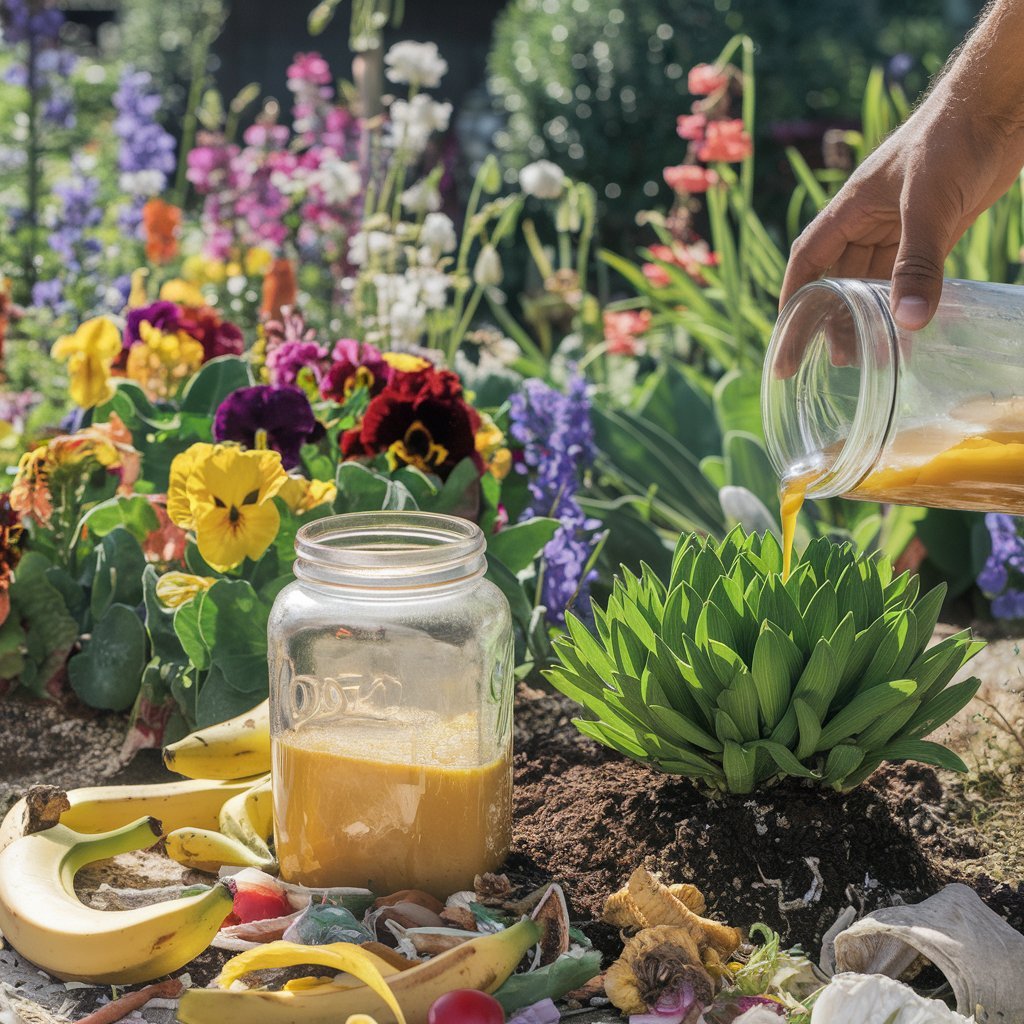
DIY liquid fertilizer made from banana peels and food waste is an eco-friendly, cost-effective way to nourish plants. Rich in potassium, phosphorus and other essential nutrients, this homemade fertilizer can boost plant growth, improve soil health and reduce kitchen waste. The process involves fermenting organic materials in water for 1-2 weeks before diluting and applying to plants.
As an organic gardening expert with over two decades of experience, I’m thrilled to share my knowledge on creating nutrient-rich liquid fertilizer from common kitchen waste. This guide will help you turn your food scraps into garden gold, benefiting both your plants and the environment.
Understanding DIY Liquid Fertilizer
Benefits of Homemade Fertilizers
- Cost-effective
- Eco-friendly waste management
- Rich in natural nutrients
- Improves soil health
- Reduces chemical use in gardens
For more on the benefits of organic fertilizers, visit the United States Department of Agriculture’s Organic Materials Review Institute.
Key Ingredients and Their Nutrients
- Banana Peels: Rich in potassium, phosphorus, and calcium
- Coffee Grounds: High in nitrogen and improves soil structure
- Eggshells: Provides calcium and helps balance soil pH
- Vegetable Scraps: Offers a variety of micronutrients
Learn more about plant nutrients from The Royal Horticultural Society.
Making DIY Liquid Fertilizer
Basic Banana Peel Fertilizer
Ingredients:
- 3-5 banana peels
- 1 liter of water
Process:
- Chop banana peels into small pieces
- Place in a jar and cover with water
- Let ferment for 1-2 weeks, stirring occasionally
- Strain the liquid and dilute 1:4 with water before use
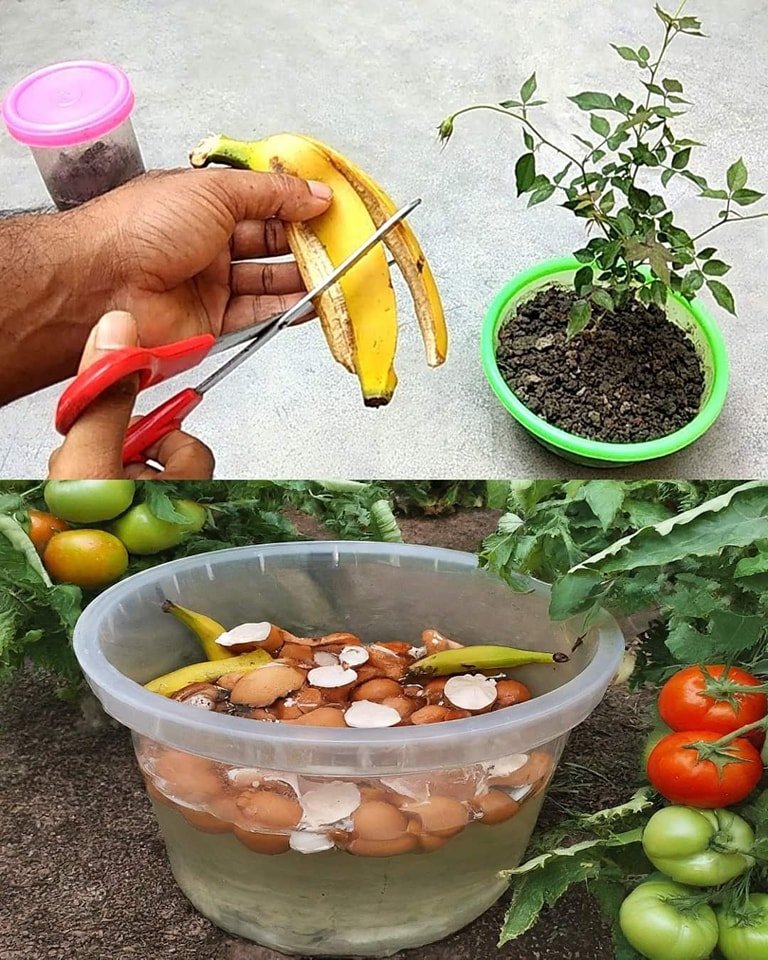
Advanced Kitchen Scrap Fertilizer
Ingredients:
- Banana peels
- Coffee grounds
- Crushed eggshells
- Vegetable scraps
- Water
Process:
- Combine all scraps in a large bucket
- Cover with water (1:1 ratio of scraps to water)
- Let ferment for 2 weeks, stirring daily
- Strain the liquid and dilute 1:10 with water before application
For more on composting techniques, check out Cornell University’s Composting Resources.
Applying Your DIY Fertilizer
Frequency of Application
- Apply every 2-4 weeks during the growing season
- Reduce frequency in winter or for dormant plants
Application Methods
- Foliar Spray: Mist diluted fertilizer on leaves
- Soil Drench: Pour around the base of plants
- Add to Watering Can: Mix with regular watering routine
Best Practices
- Always dilute before use to prevent nutrient burn
- Apply in the morning or evening to prevent leaf scorch
- Avoid application before heavy rain to prevent runoff
For more on proper fertilizer application, visit University of Maryland Extension’s Fertilizer Guidelines.
Troubleshooting Common Issues
Foul Odor
- Cause: Anaerobic fermentation
- Solution: Ensure proper aeration, add a handful of soil to introduce beneficial bacteria
Mold Growth
- Cause: Too much moisture or sugar content
- Solution: Increase fermentation time, ensure proper straining
Weak Plant Response
- Cause: Over-dilution or nutrient deficiency
- Solution: Adjust dilution ratio, diversify ingredients
Safety Precautions
- Wear gloves when handling fermented materials
- Keep fertilizer out of reach of children and pets
- Label containers clearly and store in a cool, dark place
Environmental Impact
DIY liquid fertilizers reduce:
- Chemical runoff in waterways
- Landfill waste
- Carbon footprint associated with commercial fertilizer production
Learn more about sustainable gardening practices from the Environmental Protection Agency’s GreenScaping Guide.
Creating your own liquid fertilizer from banana peels and kitchen scraps is a rewarding way to nourish your garden while reducing waste. This eco-friendly practice not only benefits your plants but also contributes to a healthier environment. Remember to experiment with different ingredients and observe your plants’ response to find the perfect blend for your garden. Happy gardening and happy recycling!
For more advanced composting techniques, explore the Composting Council’s Resources.


Leave a Reply