
Unlock the secrets to growing breathtaking tulips in your garden. This comprehensive guide covers everything from selecting the right bulbs to planting, care, and troubleshooting. Discover insider tips for achieving a spectacular tulip display that will be the envy of your neighborhood.
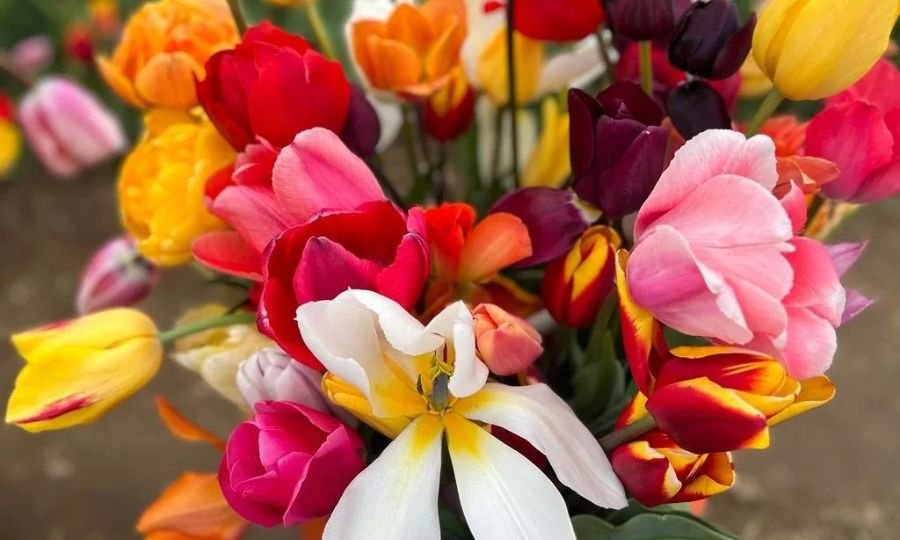
Tulips are among the most beloved and iconic spring-flowering bulbs. With their vibrant colors, elegant shapes and ability to naturalize and multiply over time, these harbingers of warmth and sunshine are a must-have in any garden. Whether you’re a seasoned green thumb or a budding gardener, this guide will equip you with the knowledge and tips you need to grow a spectacular tulip display.
Here’s a short chart with information about Tulips (genus Tulipa):
| Aspect | Information |
|---|---|
| Botanical Name | Tulipa spp. |
| Plant Type | Perennial Bulb |
| Zones | 3-8 |
| Exposure | Full Sun to Partial Shade |
| Bloom Time | Spring |
| Height/Spread | 6-24 inches tall, 3-6 inches wide |
Understanding Tulips

Tulips belong to the Liliaceae family and are native to the mountainous regions of Central Asia. They come in a dazzling array of colors, including red, yellow, pink, purple and bi-colored varieties. Tulips are classified into several groups based on their flowering time, height and overall appearance, such as Single Early, Double Early, Triumph, Darwin Hybrid and Parrot tulips.
Choosing the Right Tulip Bulbs
Selecting high-quality bulbs is the first step to ensuring a successful tulip display. Look for firm, healthy bulbs that are free from blemishes, cuts or signs of disease. The larger the bulb, the more substantial the bloom and stem will be. When purchasing bulbs, consider the bloom time, height and color to create a harmonious and eye-catching display.
The Best Time to Plant Tulip Bulbs
In most regions, tulip bulbs should be planted in the fall, typically between late September and early November. The key is to plant them before the ground freezes, allowing the bulbs to establish roots before winter arrives. Aim to plant your tulip bulbs about 6 to 8 weeks before the ground freezes in your area.
Preparing the Planting Site
Tulips thrive in well-draining soil that receives full sun to partial shade. Choose a location that gets at least 6 hours of direct sunlight per day for optimal flowering. If your soil is heavy or poorly drained, consider amending it with compost or other organic matter to improve drainage and aeration.
Planting Tulip Bulbs
Plant tulip bulbs approximately 8 inches deep and 4 to 6 inches apart. This depth helps protect the bulbs from extreme cold and provides stability for the stems as they emerge in spring. When planting, position the bulbs with the pointed end facing up. For a stunning display, consider planting bulbs in groups or clusters rather than in single rows.
Caring for Tulips After Planting
Once planted, tulip bulbs require minimal care during the winter months. However, it’s essential to keep an eye out for any potential issues that may arise.
Mulching: Apply a 2 to 3-inch layer of mulch, such as shredded bark or straw, over the planting area. This helps insulate the bulbs, retain moisture and suppress weeds.
Watering: Tulip bulbs don’t require watering during the winter months, as they receive sufficient moisture from rain and melting snow. However, once the shoots emerge in spring, water the plants regularly, especially during dry spells, to ensure optimal growth and flowering.
Fertilizing: Tulips generally don’t require fertilization, as the nutrients stored in the bulbs are typically sufficient for their growth and flowering. However, if your soil is nutrient-deficient, you can apply a balanced, slow-release bulb fertilizer in early spring, following the manufacturer’s instructions.
Deadheading: Once the tulips have finished blooming, remove the spent flowers by cutting them off at the base of the stem. This prevents the plant from wasting energy on seed production and encourages the bulb to store energy for the following year’s growth.
Maintaining Tulip Displays
After the tulips have finished blooming and the foliage begins to yellow and die back, it’s important to resist the temptation to cut or remove the leaves prematurely. The leaves continue to photosynthesize and replenish the bulb with energy for next year’s bloom. Allow the foliage to naturally wither and die back before removing it.
If you plan to leave the bulbs in the ground for subsequent years, consider planting them in a location where the faded foliage will be less of an eyesore. Alternatively, you can interplant tulips with later-blooming perennials or annuals that will help camouflage the dying foliage.
Lifting and Storing Tulip Bulbs
In some regions, especially those with hot summers, it may be necessary to lift and store the tulip bulbs after they have finished blooming. This practice helps the bulbs undergo a proper dormancy period, ensuring they bloom again the following year.
To lift the bulbs, carefully dig them up about 6 to 8 weeks after the flowers have faded, taking care not to damage the bulbs or their remaining foliage. Gently brush off any excess soil and allow the bulbs to dry in a cool, well-ventilated area, away from direct sunlight. Once fully dry, store the bulbs in a cool, dark place, such as a mesh bag or a well-ventilated container, until it’s time to replant them in the fall.
Companion Planting with Tulips
Tulips make excellent companions for a variety of other spring-blooming plants. Consider interplanting them with daffodils, grape hyacinths or pansies for a vibrant and eye-catching display. Alternatively, plant tulips among early-blooming perennials like hellebores or English primroses for a harmonious blend of colors and textures.
Troubleshooting Common Tulip Issues
While tulips are generally low-maintenance plants, they can occasionally encounter a few issues. Here are some common problems and their solutions:
- Failure to bloom: If your tulips fail to bloom, it could be due to several factors, including improper planting depth, inadequate sunlight or overcrowding. Check if the bulbs were planted at the correct depth and ensure they receive sufficient sunlight.
- Distorted or twisted flowers: This is often caused by extreme temperature fluctuations during the flowering period. Providing some shade or protection from sudden temperature changes can help prevent this issue.
- Bulb rot: Bulb rot can be a result of overwatering, poor drainage or fungal infections. Ensure your soil has excellent drainage and avoid overwatering, especially during the winter months.
- Pest and disease problems: Tulips can be susceptible to pests like aphids, spider mites and thrips, as well as diseases like botrytis blight and viruses. Inspect your plants regularly and take appropriate measures to control any infestations or diseases.
Tulips are a true delight in any garden, heralding the arrival of spring with their vibrant blooms and elegant forms. By following the guidelines outlined in this guide, you’ll be well-equipped to grow a stunning tulip display that will be the envy of your neighborhood. From selecting the right bulbs to proper planting, care and maintenance, each step is essential for achieving a successful tulip garden. Embrace the rewarding experience of nurturing these beloved harbingers of spring and enjoy the breathtaking beauty they bring to your outdoor spaces.


[…] lobed and glossy green, providing a pleasing aesthetic. In the spring, clusters of white or pink flowers bloom, adding a touch of delicate beauty to the landscape. As autumn arrives, these flowers give […]
[…] aspects of Black-Eyed Susans is their ease of cultivation and adaptability. These resilient flowers thrive in a wide range of soil types, from sandy to clay-based soils, as long as they receive ample […]
[…] great, but chives are also super easy to grow. With their clump-forming nature and pretty purple flowers, they make an attractive addition to your garden beds or containers too.If you’re looking to […]
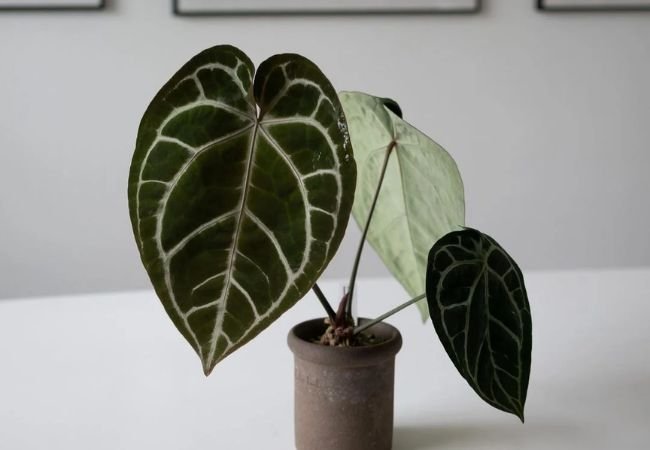
[…] Flamingo Flower, […]
[…] In this comprehensive guide, we’ll delve into the captivating world of these stunning flowers, exploring the essential steps to ensure a bountiful and eye-catching […]
[…] bright and cheerful blooms adding a burst of color to any outdoor space. These low-maintenance flowers are not only beautiful but also incredibly easy to grow, making them a perfect choice for both […]
[…] violets are available in many different flower colors including white, pink, purple and bicolors. Some varieties have ruffled or semi-double […]
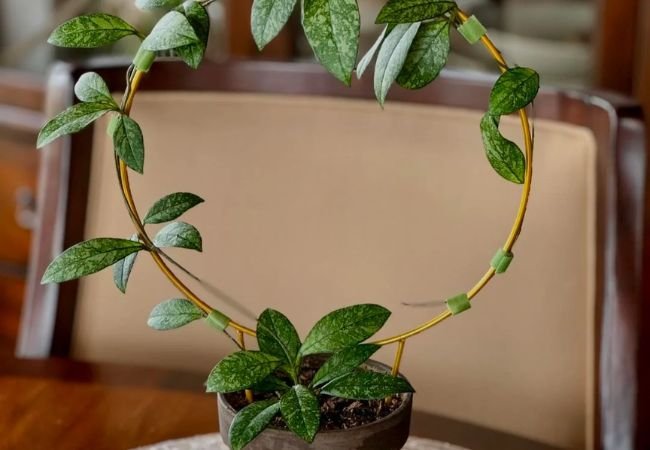
[…] or Hindu rope plants, are beloved for their thick, waxy leaves and stunning clusters of star-shaped flowers. Though native to tropical Asia and Australia, hoyas make excellent, easy-care houseplants that can […]
[…] that may require staking. A higher phosphorus ratio (more P in the NPK formula) encourages stronger flowers and […]
[…] colors and textures. Their diverse forms range from tall, upright varieties adorned with striking flower clusters to trailing and mat-forming types that create a lush, textured carpet across the ground. […]
[…] for their waxy, colorful flowers and resilience, wax begonias are perfect for outdoor gardens, hanging baskets and […]
[…] this ultimate guide, we’ll explore everything you need to know to cultivate these beautiful flowers successfully, from choosing the right varieties to providing the perfect growing […]
[…] classic variety features large, double white flowers and a rich, sweet fragrance that is synonymous with the gardenia […]
[…] (Lilium longiflorum), symbolizing purity, rebirth and hope. Other common Easter flowers include tulips, daffodils and hyacinths, each carrying their own symbolism related to spring and renewal. These […]