
Growing Shasta Daisy Seedlings : A Guide to Nurturing These Cheerful Flowers
Learn how to grow Shasta daisy seedlings successfully. Discover tips on planting, care and transplanting to create a beautiful garden full of these classic white flowers.
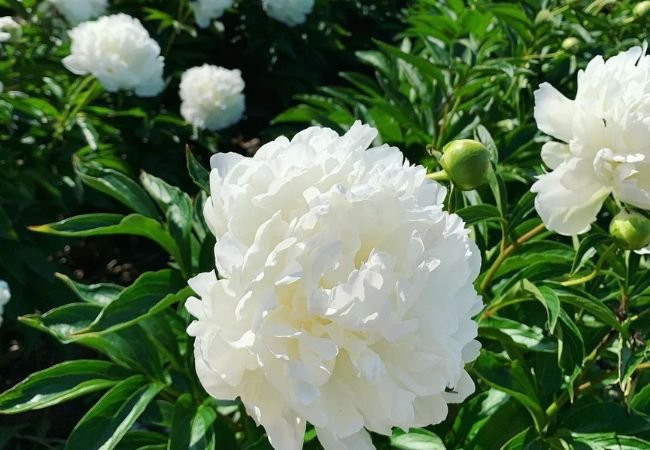
Shasta daisies (Leucanthemum x superbum) are beloved for their cheerful white blooms with yellow centers. Growing these flowers from seedlings can be a rewarding experience for gardeners. This guide will walk you through the process of nurturing Shasta daisy seedlings to create a thriving flower patch.
Understanding Shasta Daisies
Before diving into seedling care, let’s learn about Shasta daisies:
- Perennial flowers that bloom from early summer to fall
- Height: 2-3 feet tall
- Spread: 1-2 feet wide
- Sun requirement: Full sun
- Hardiness zones: 5-9
Learn more about Shasta daisy characteristics
Starting Shasta Daisy Seedlings
When to Start
- Indoor seedlings: 6-8 weeks before the last frost date
- Outdoor direct sowing: After the danger of frost has passed
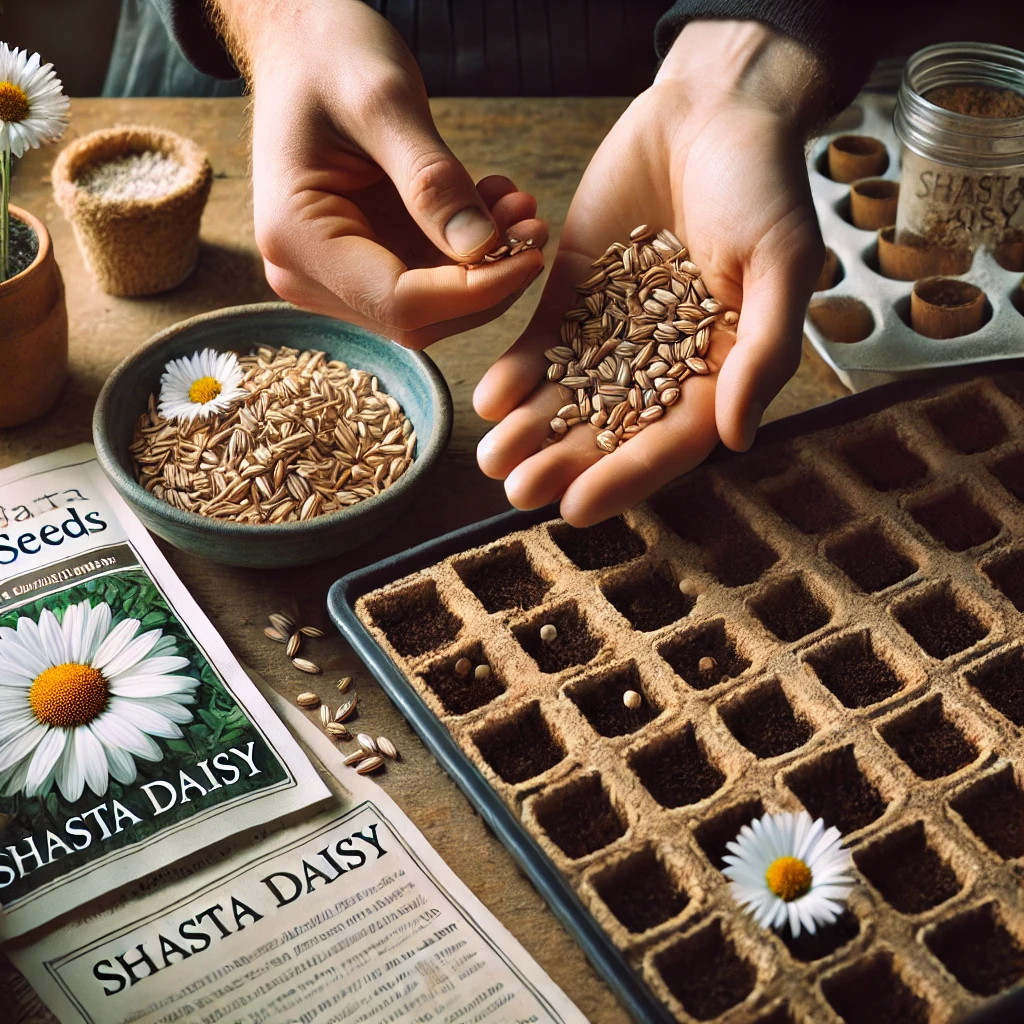
How to Start Seeds
- Use a seed starting mix in small pots or trays
- Plant seeds 1/8 inch deep
- Keep soil moist but not waterlogged
- Maintain temperature around 70°F (21°C)
- Seeds typically germinate in 10-21 days
Caring for Shasta Daisy Seedlings
Light Requirements
- Provide plenty of light, at least 6 hours daily
- Use grow lights if starting indoors
Watering
- Keep soil consistently moist but not soggy
- Water at the base to avoid wetting leaves
Temperature
- Ideal temperature range: 60-70°F (15-21°C)
- Protect from extreme heat or cold
Fertilizing
- Start fertilizing when seedlings have 2-3 true leaves
- Use a balanced, water-soluble fertilizer at half strength
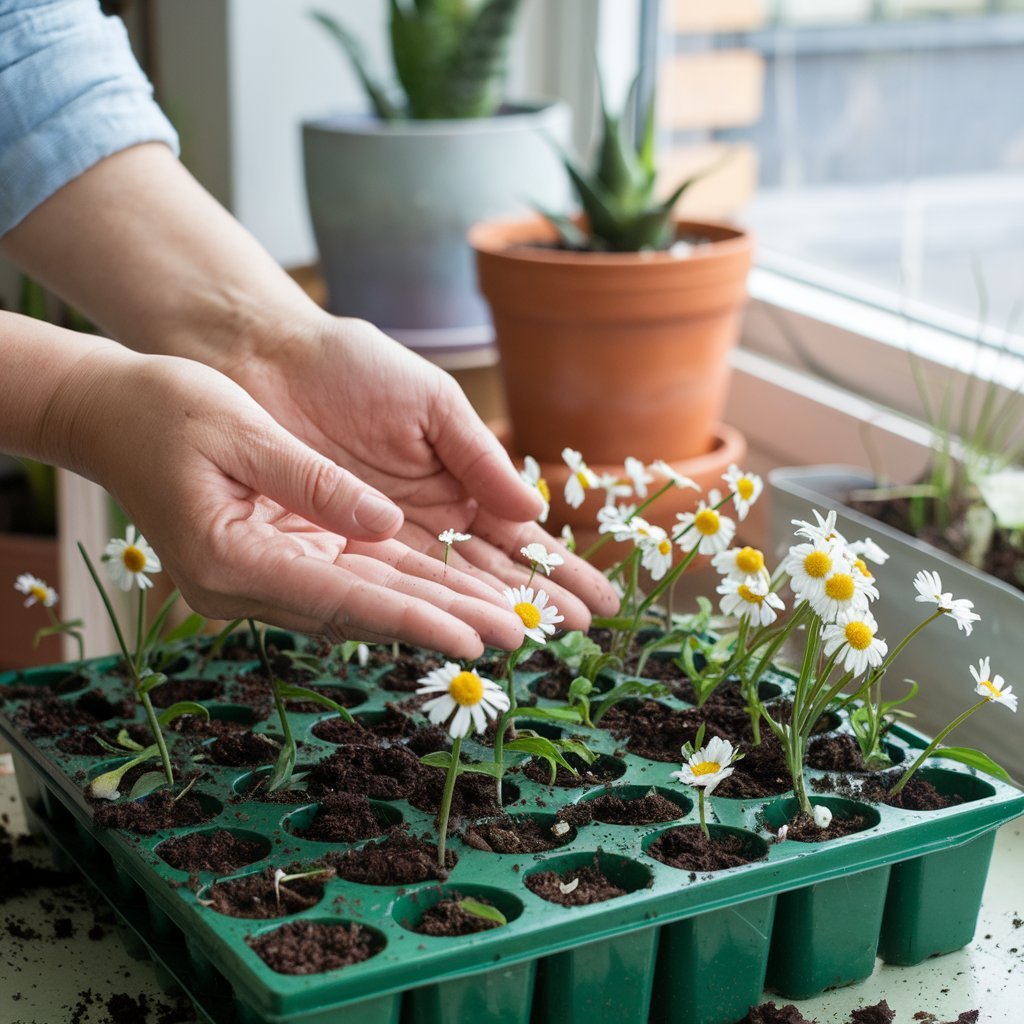
Transplanting Shasta Daisy Seedlings
When to Transplant
- After the last frost date
- When seedlings have 3-4 sets of true leaves
How to Transplant
- Harden off seedlings for 7-10 days
- Choose a sunny location with well-draining soil
- Space plants 1-2 feet apart
- Water thoroughly after planting
Tips for successful transplanting
Common Problems with Shasta Daisy Seedlings
- Damping off: Fungal disease causing seedlings to wilt and die
- Prevention: Use sterile soil and avoid overwatering
- Leggy seedlings: Caused by insufficient light
- Solution: Provide more light or use grow lights
- Yellowing leaves: Often due to overwatering or nutrient deficiency
- Solution: Adjust watering and fertilizing as needed
Troubleshooting seedling problems
Caring for Mature Shasta Daisies
Once your seedlings have grown into mature plants:
- Deadhead regularly to encourage more blooms
- Divide plants every 3-4 years to maintain vigor
- Cut back in late fall after the first frost
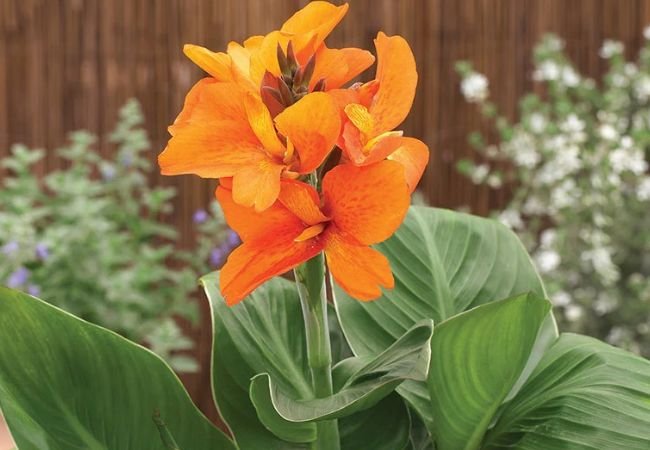
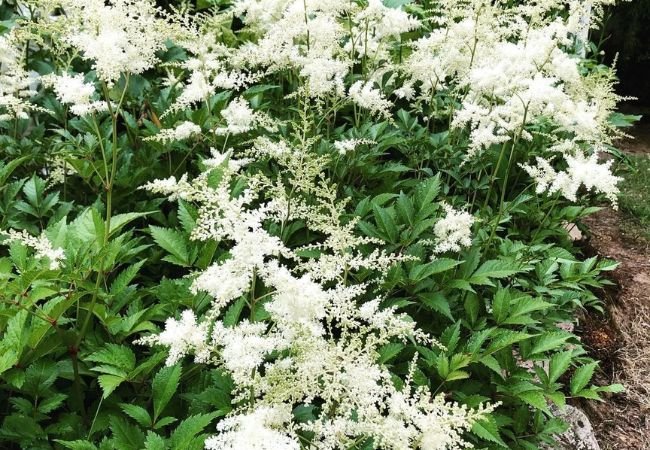
Companion Plants for Shasta Daisies
Consider planting these alongside your Shasta daisies:
- Black-eyed Susans
- Coneflowers
- Lavender
- Salvia
These combinations can create stunning garden displays.
Growing Shasta daisy seedlings requires patience and care, but the result is a beautiful display of classic white flowers that brighten any garden. By following these guidelines for planting, care, and transplanting, you’ll be well on your way to a thriving Shasta daisy patch. Remember, gardening is a learning process, so don’t be discouraged if you face challenges. With time and practice, you’ll master the art of growing these cheerful flowers from seedlings.

One Comment